đĸGetting Started
Welcome to Alby Hub, your next step towards taking full control of your Bitcoin and payment processes!
Last updated
Welcome to Alby Hub, your next step towards taking full control of your Bitcoin and payment processes!
Last updated
Your bitcoin & nostr companion / from đ with đ§Ą
1. Get your Alby web Account 2. Launch Alby Hub 3. Connect your Alby Hub to the network and get your first lightning channel 4. Top up your Spending Balance 5. Connect your Hub to other apps
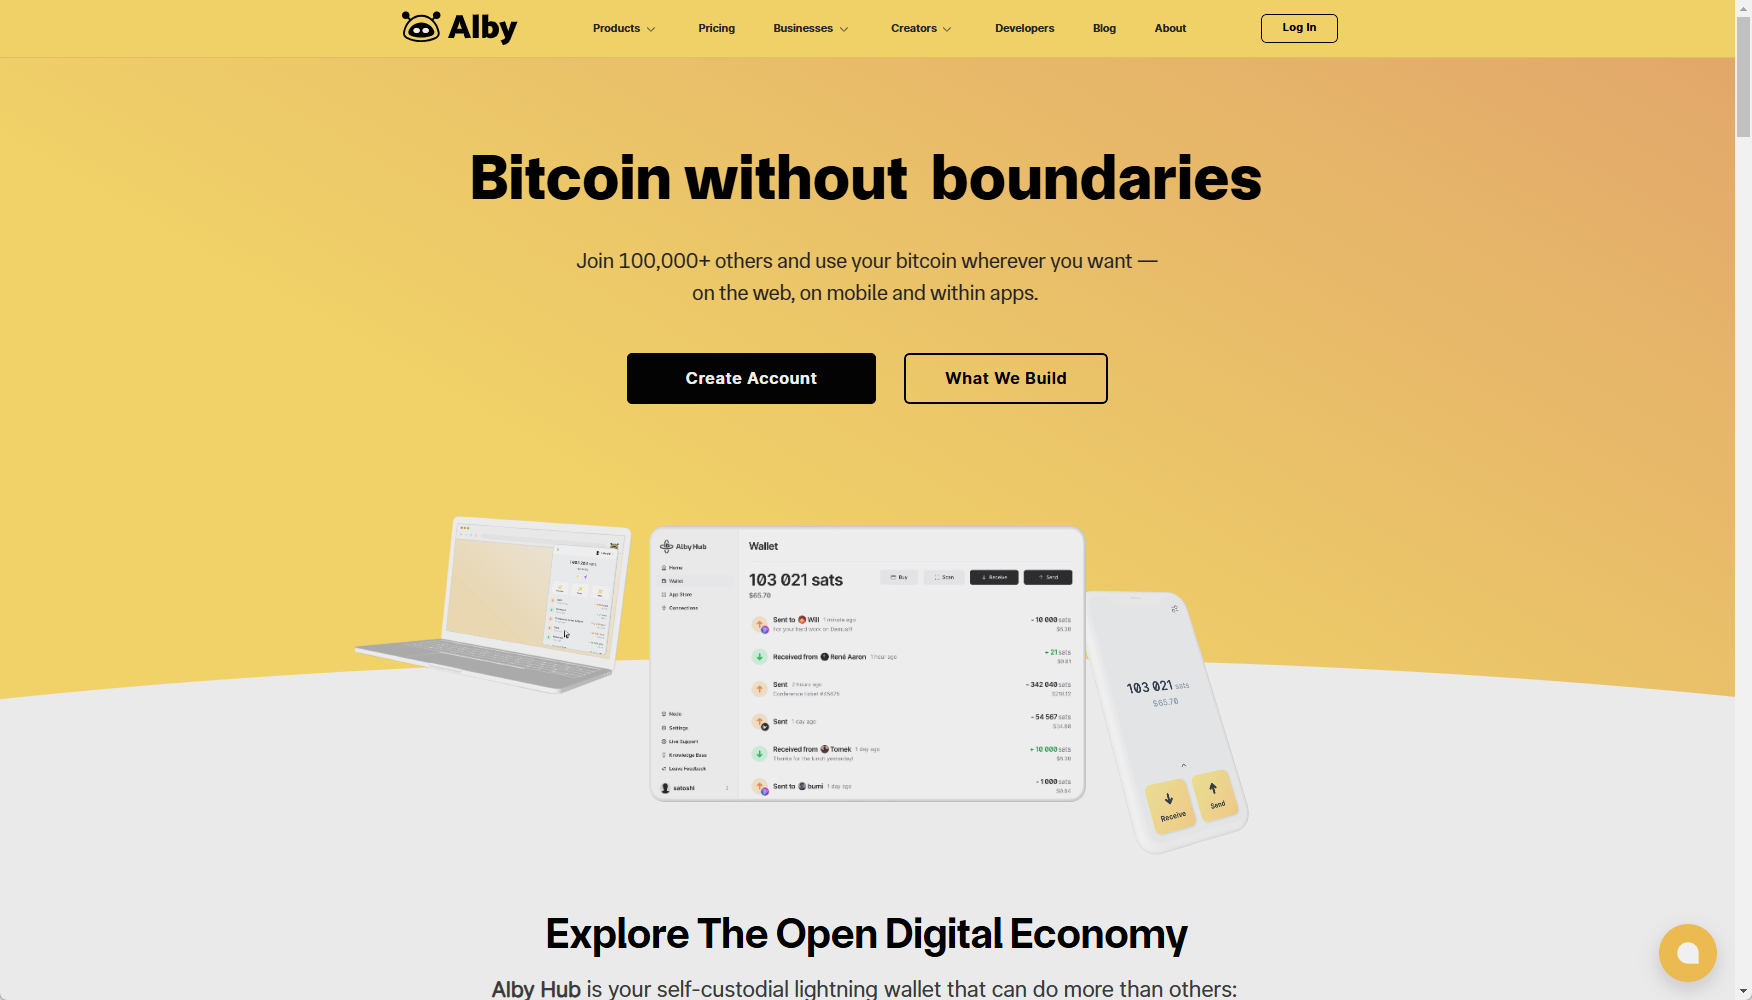
Create your Alby Account on getalby.com.
The Alby Account đ is optional to start using your Alby Hub. This account gives you a lightning addressâĄ, allowing you to receive bitcoin directly without the need to issue invoices every time you want to receive some sats and better user support possibilities along your bitcoin journey.
Are you interested in a personal onboarding session? Book one here. âī¸
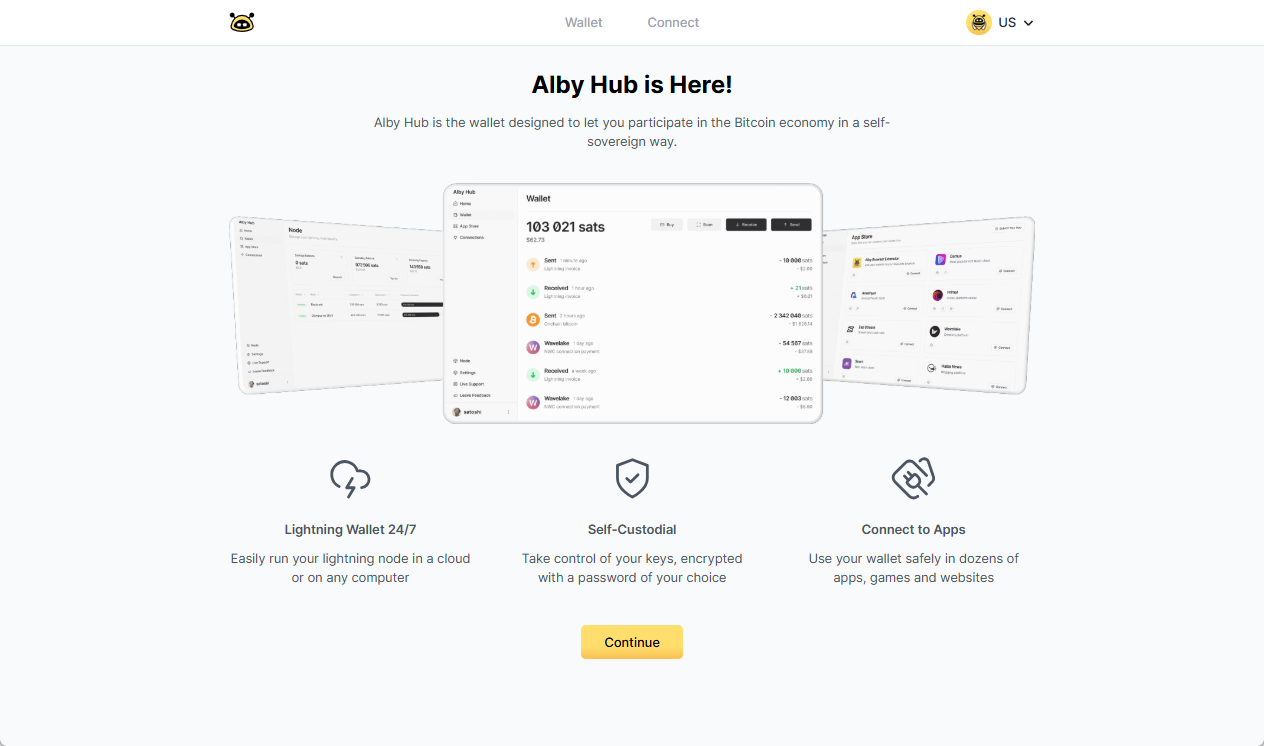
Follow the onboarding steps.
Now you only need to open one payment channel to be connected to the bitcoin lightning network, top up your balance and store a backup of your wallet offline. We'll guide you through all of this.
At the end you'll have full control and sovereignty over your money. đ
For Advanced Users: The protocol that links your Alby Hub to your Alby account is called NWC (Nostr Wallet Connect). This protocol is the same that is used to link your Alby Hub to many other apps on the app store. On the link below we cover the subject of connecting Alby Hub to other apps.
đ Congratulations! đ This section contains everything you need to get your Alby Hub self-custodial wallet up and running smoothly! If you're eager to dive deeper and learn more about the Alby Hub, feel free to explore the additional sections through the links below đ. Thanks for your interest! đ
Thank you for stopping by! This section was created with contributions from Jean-Paul, Moritz & Tomek